Blog
How to Add Line Breaks in Excel
 Mike Yi · Dec 16, 2025
Excel line breaks affect how text appears inside cells and how spreadsheets print.
Yet many users find that line breaks do not work as expected-wrapped text looks fine on screen but gets cut off when printing, or Print Preview shows a different layout.
This guide explains how to add a line break in Excel, including shortcuts, Wrap Text, and the CHAR function. It also covers how to remove line breaks and fix common printing issues using proper print area and page setup settings.
Manual Line Break in Excel (Excel Line Break Shortcut)
A manual line break is best when you need precise control over where text breaks inside a cell.
How to add a manual line break in Excel
- Double-click the cell to enter edit mode
- Place the cursor where you want the line break
- Press Alt + Enter
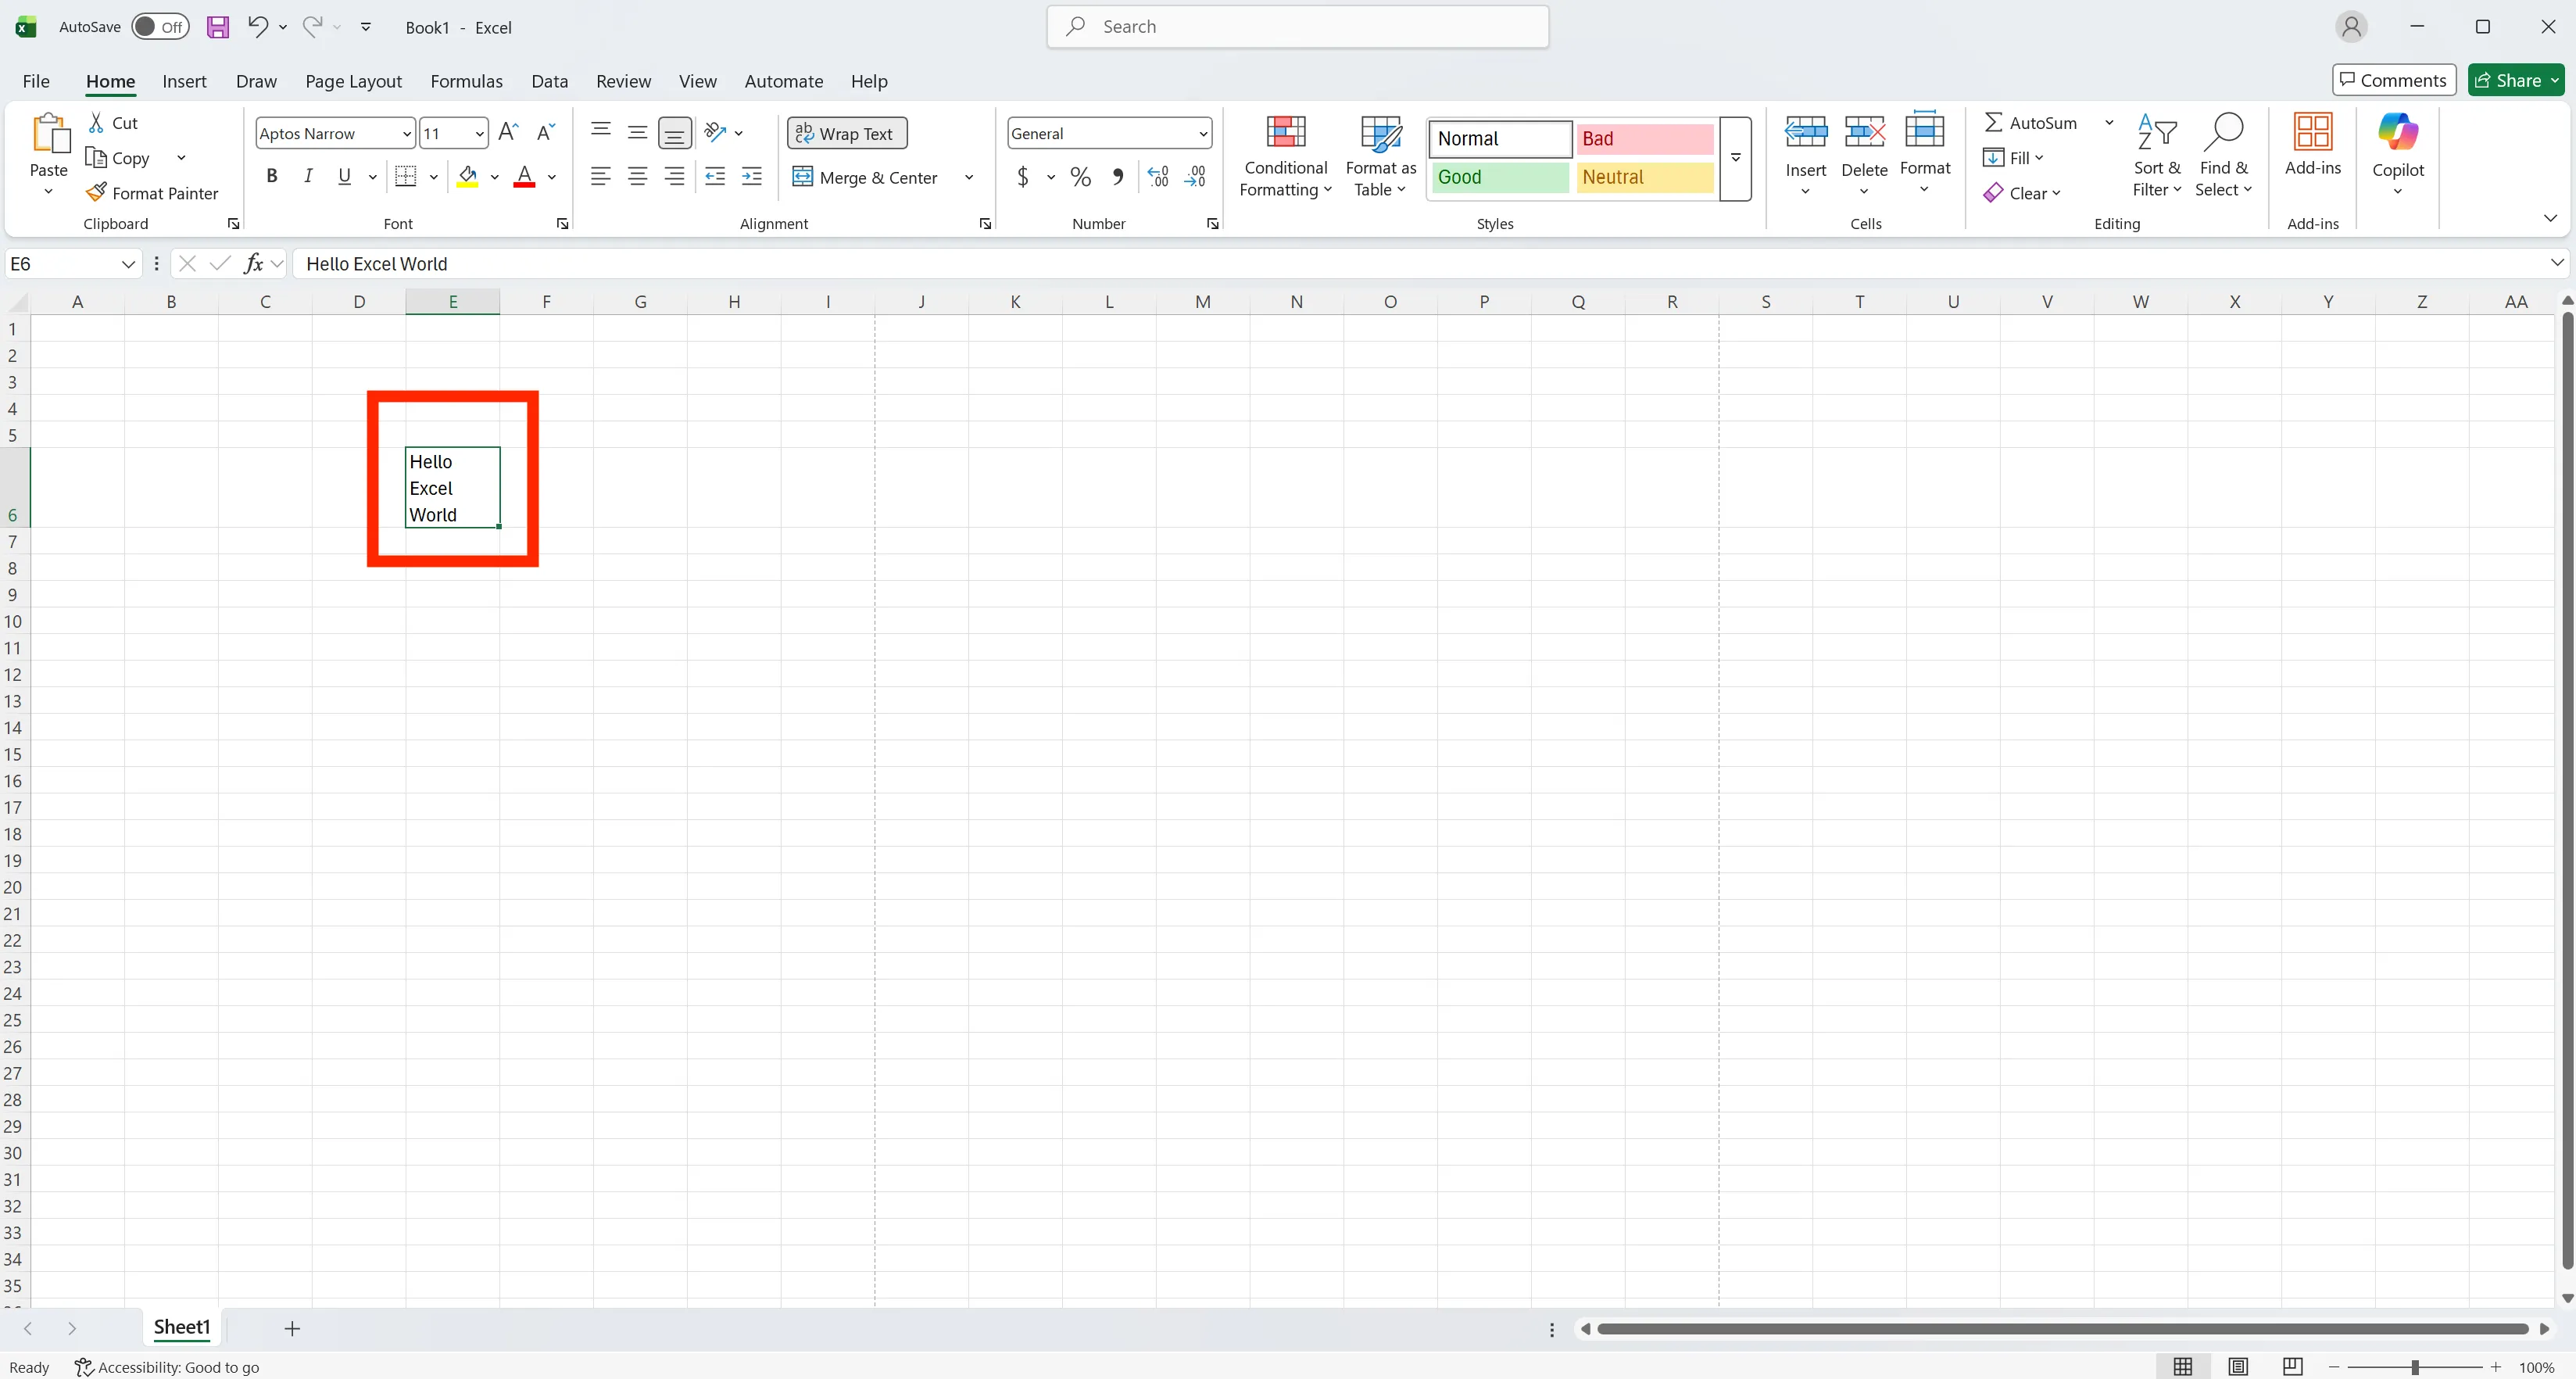
This method is commonly referred to as the excel line break shortcut.
Wrap Text in Excel: Automatic Line Breaks
Wrap Text automatically moves text to the next line when the cell width is too narrow.
How to use Wrap Text in Excel
- Select the cell or range
- Go to the Home tab
- Click Wrap Text
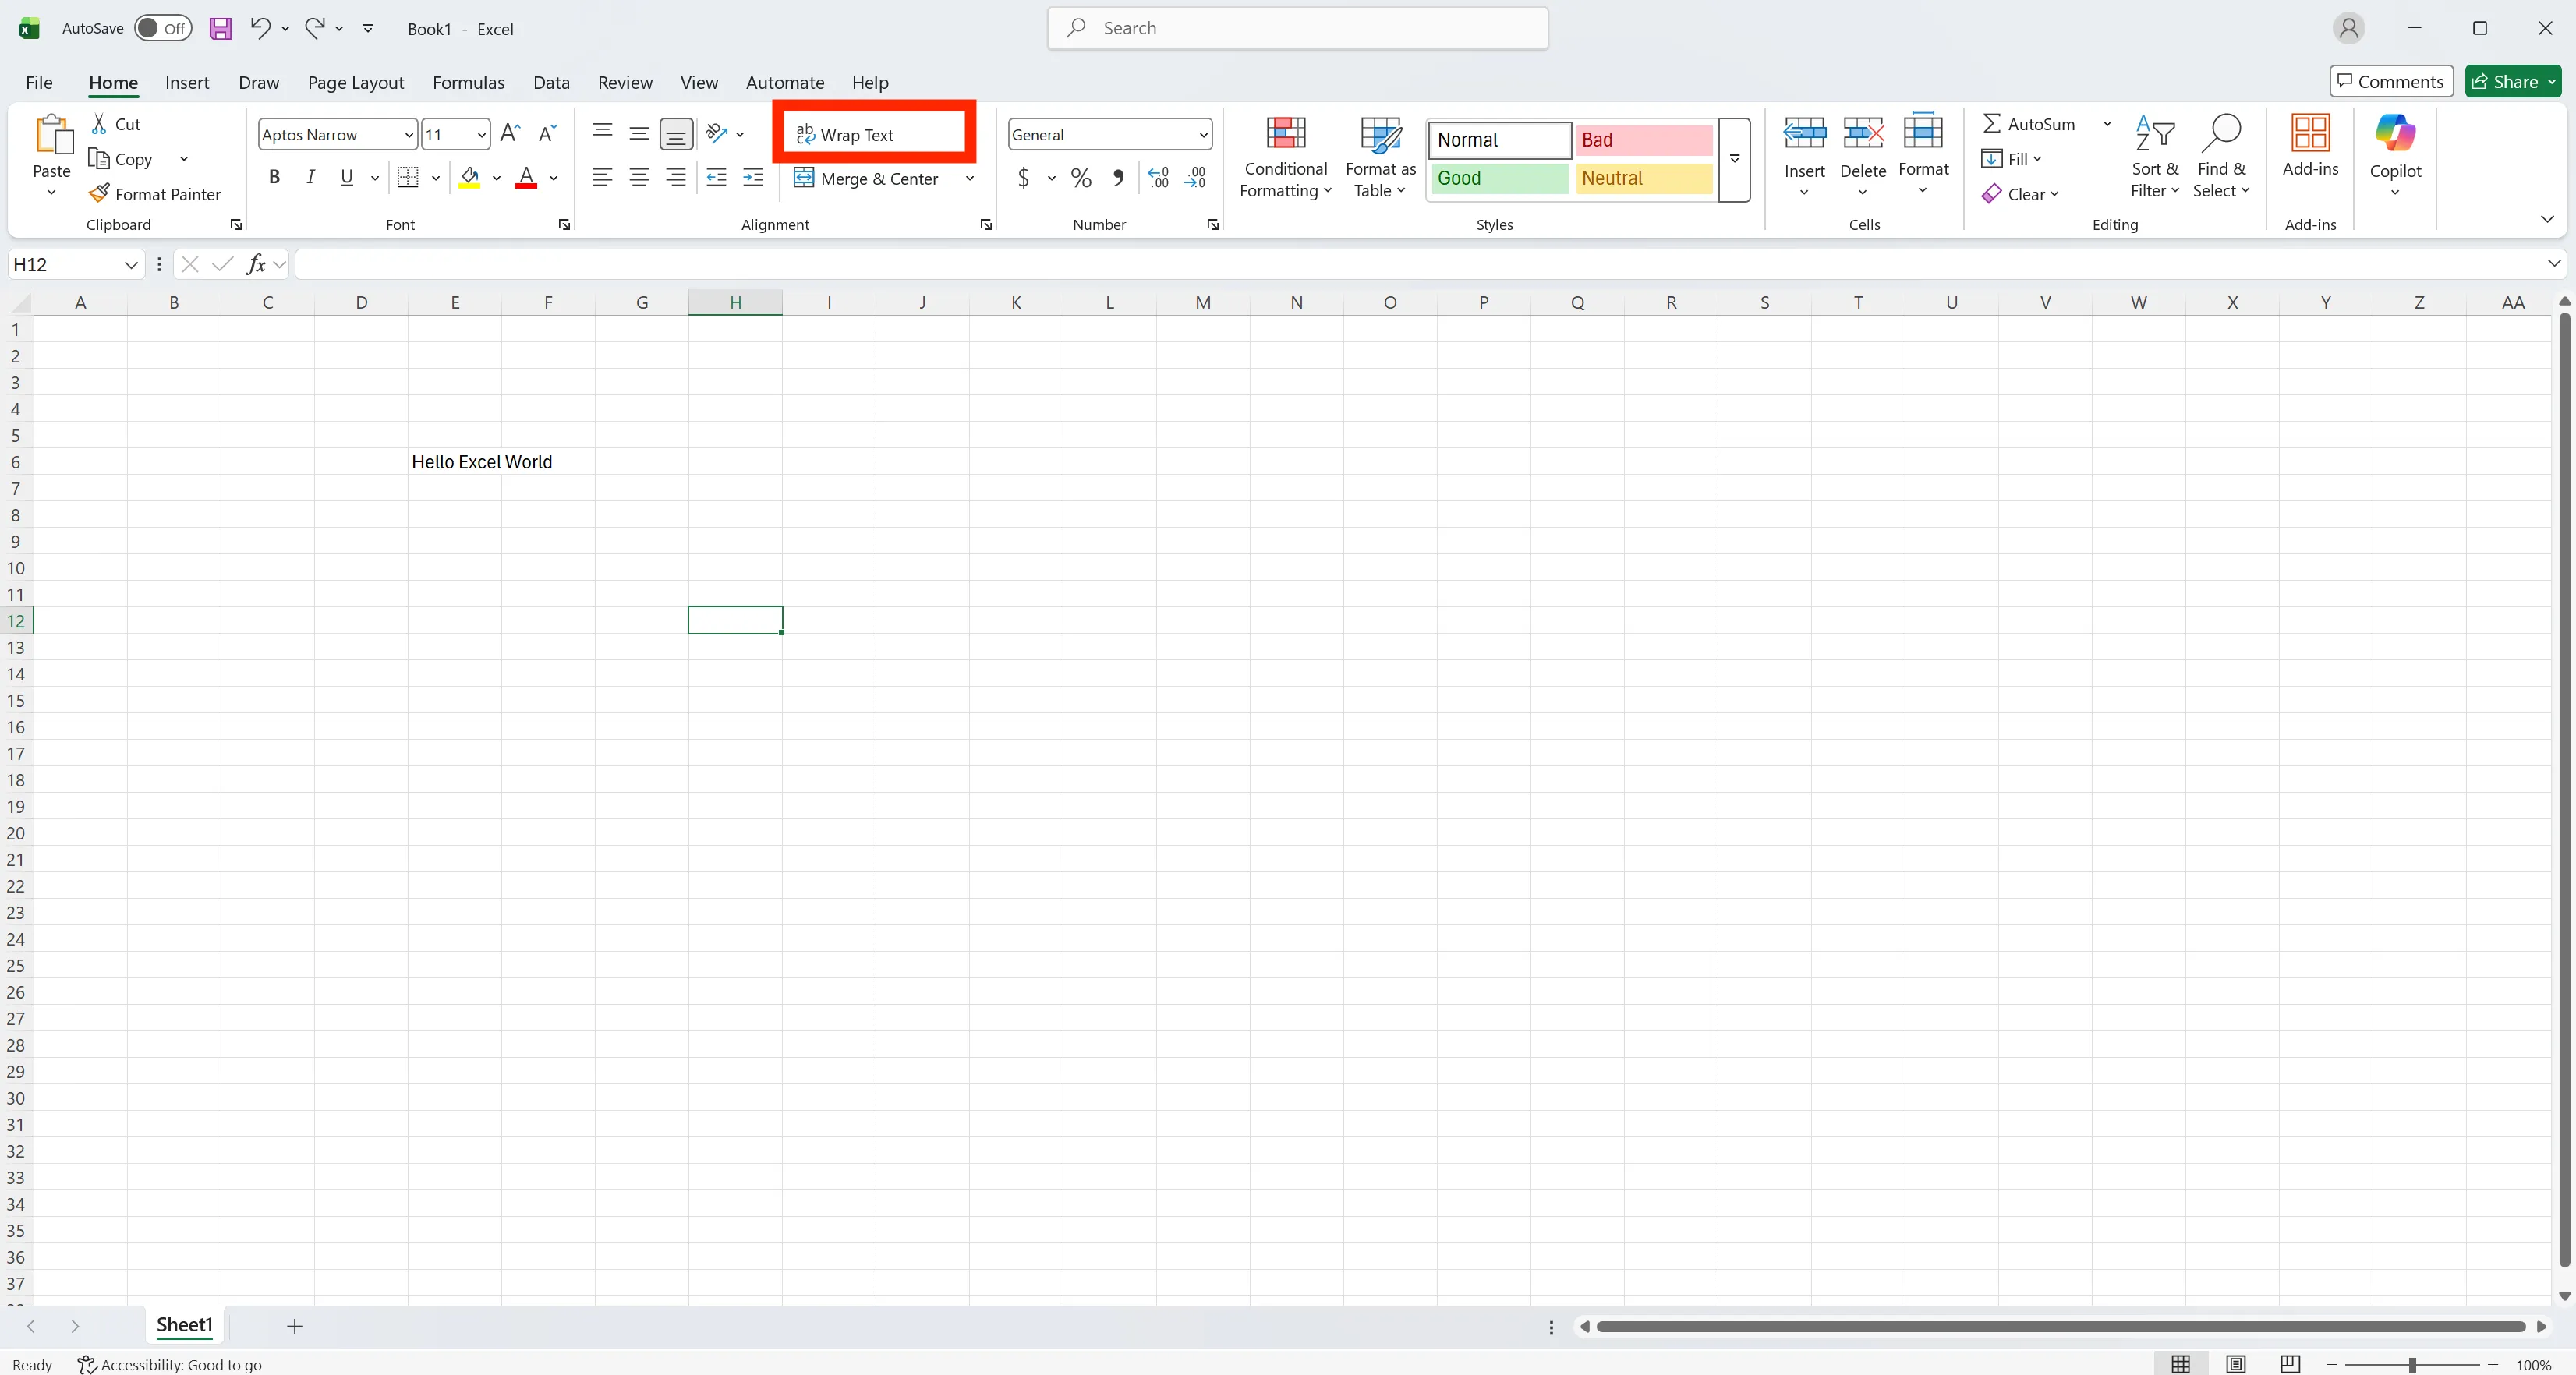
This option is widely used for tables and reports where column width changes frequently.
Why Wrap Text or Line Breaks Are Not Working in Excel
When a line break in Excel does not work, the issue is usually related to formatting-not the text itself. In most cases, Excel is unable to display wrapped text because the cell layout is restricted.
Common reasons line breaks fail in Excel
- Shrink to Fit is enabled, so Excel reduces font size instead of wrapping text
- Wrap Text is turned off, even though a manual or formula-based line break exists
- Row height is fixed, preventing Excel from expanding the cell
If any of these settings are active, line breaks may appear to "not work," even though they are technically present.
To fix the issue, confirm that Wrap Text is enabled, Shrink to Fit is disabled, and adjust the row height manually or by double-clicking the row border to apply auto-fit. This resolves most 'Excel wrap text not working' and 'line break not working in Excel' cases.
Line Break in Excel Using a Formula (CHAR Function)
You can also insert a line break using a formula, which is especially useful when combining text.
How to use a line break Excel formula
-
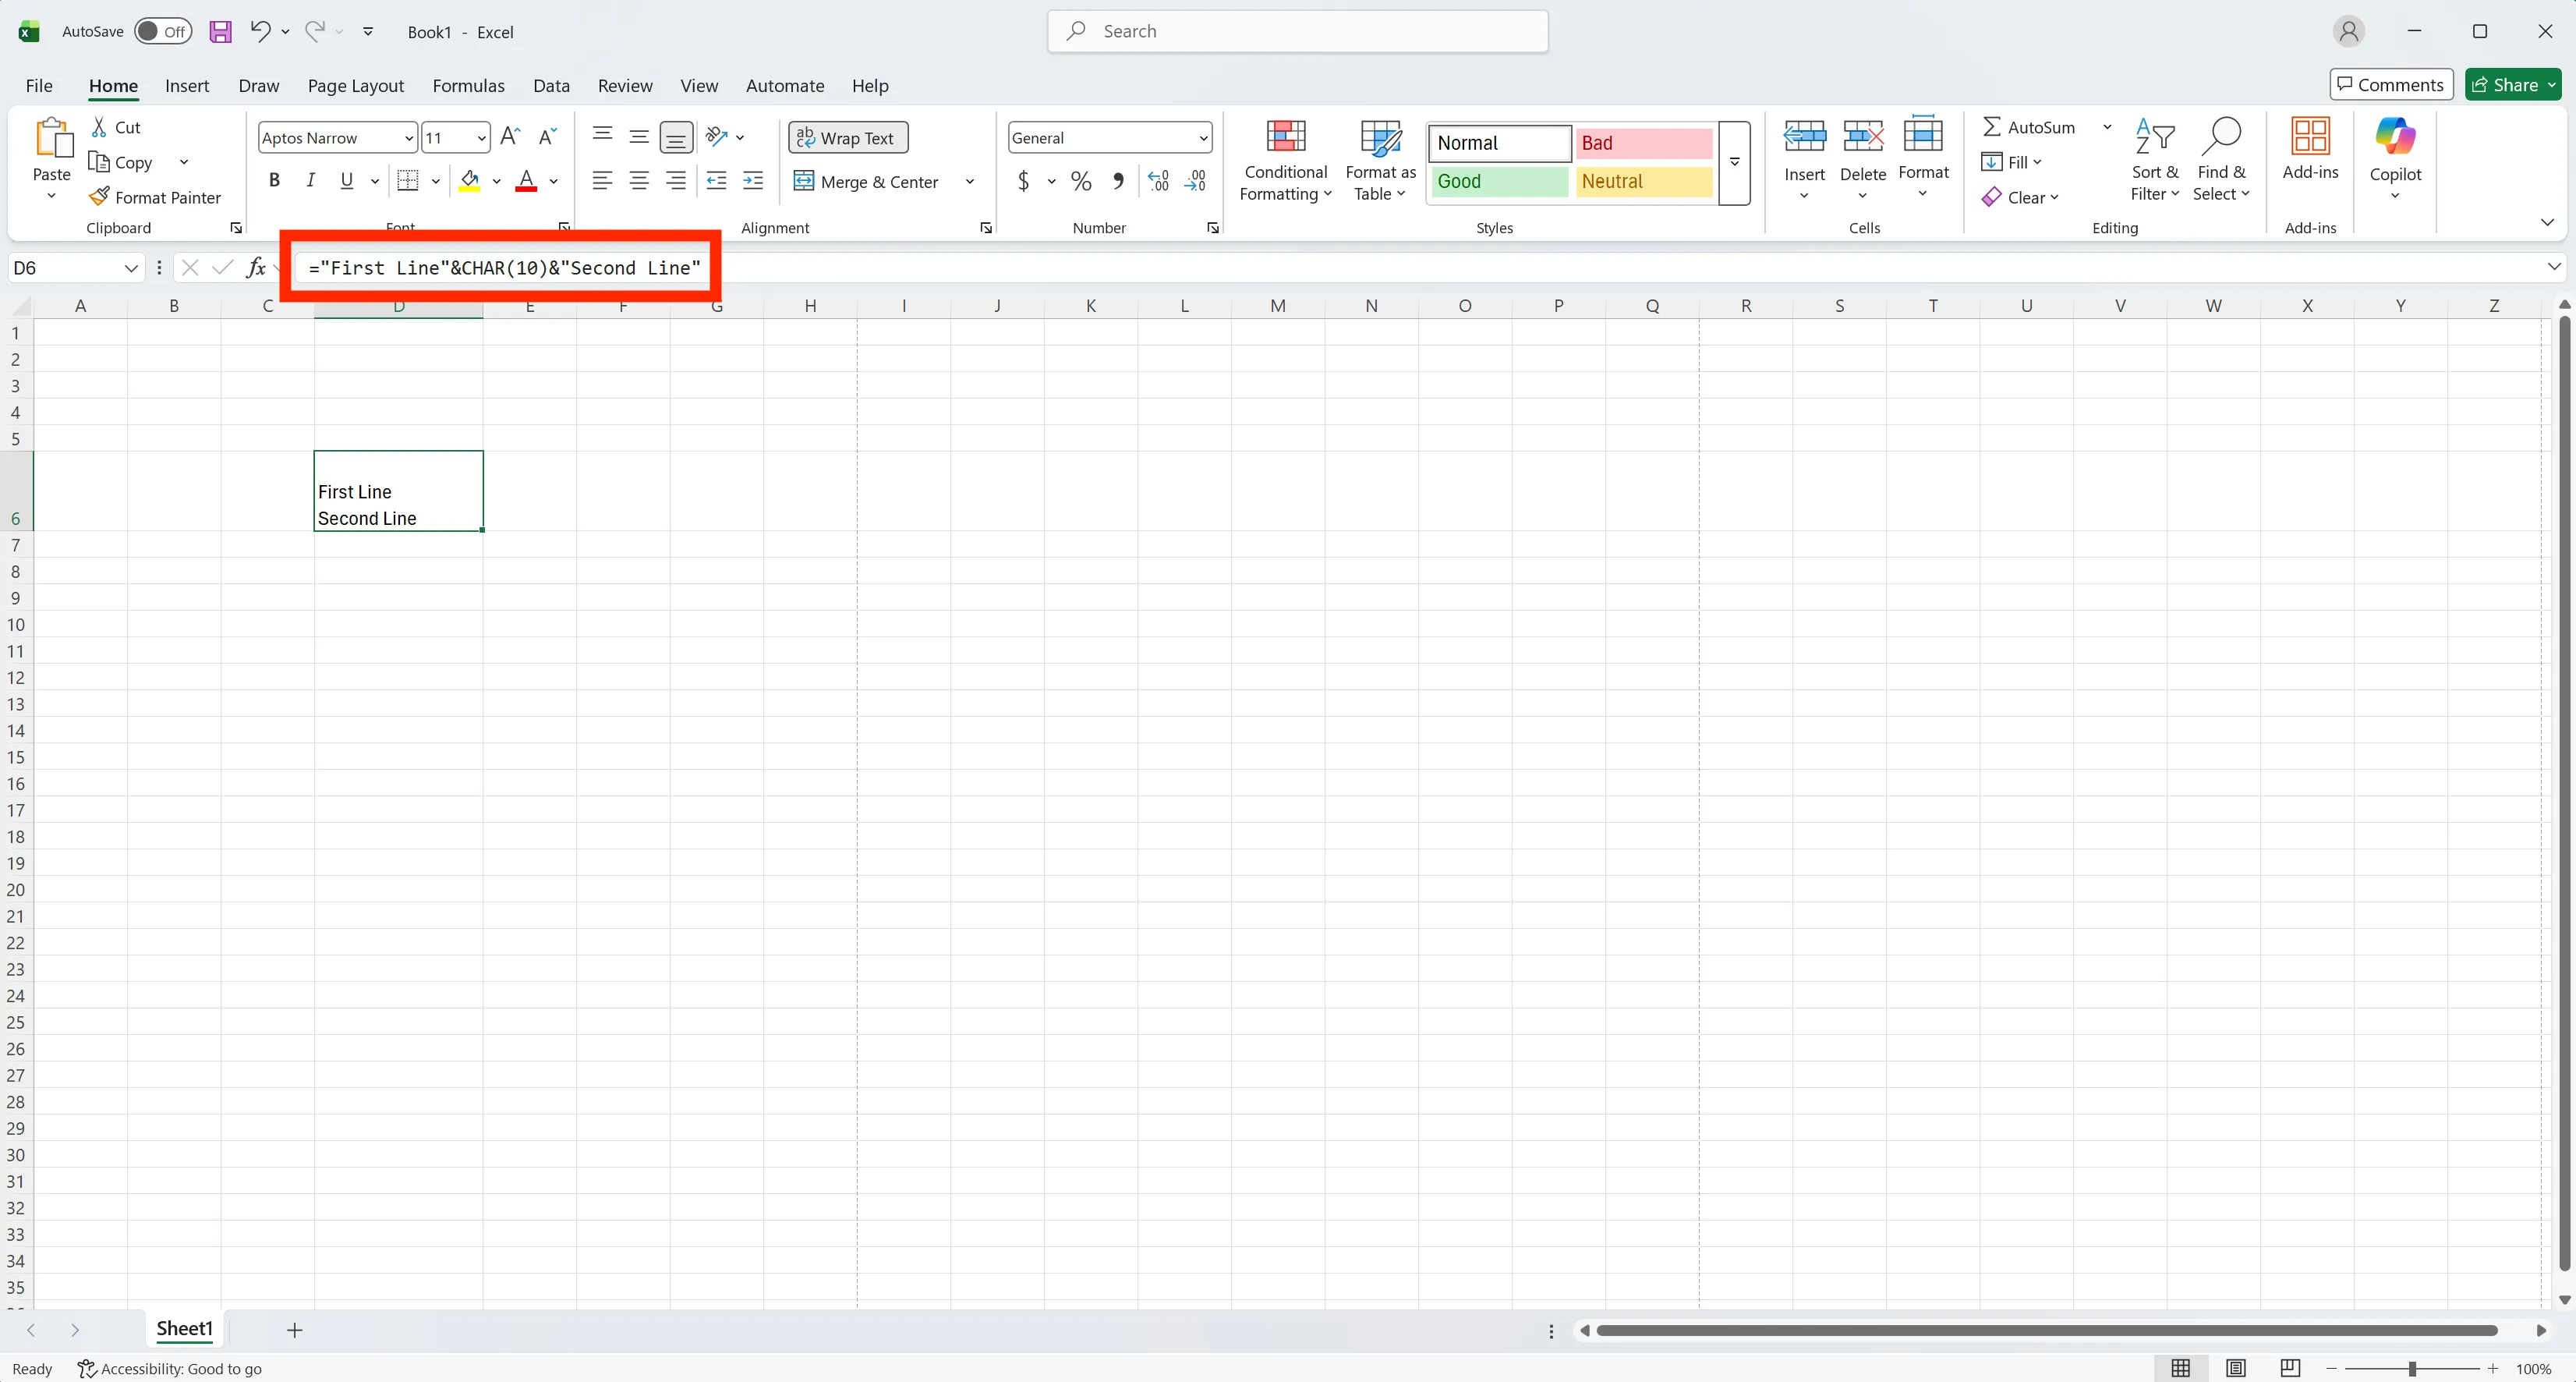
Use
CHAR(10)in your formula where you want the line break. -
Enter the cell value as shown below.
="First Line"&CHAR(10)&"Second Line"
- Note: On Mac, the keyboard shortcut for manual line breaks is Control + Option + Return instead of Alt + Enter. The
CHAR(10)formula works the same on both Windows and Mac.
How to Remove All Line Breaks in Excel
If you need to remove all line breaks at once, use Find and Replace.
How to remove line breaks in Excel
- Press Ctrl + H to open Find and Replace
- In the Find field, press Ctrl + J
- Leave Replace field empty
- Click Replace All
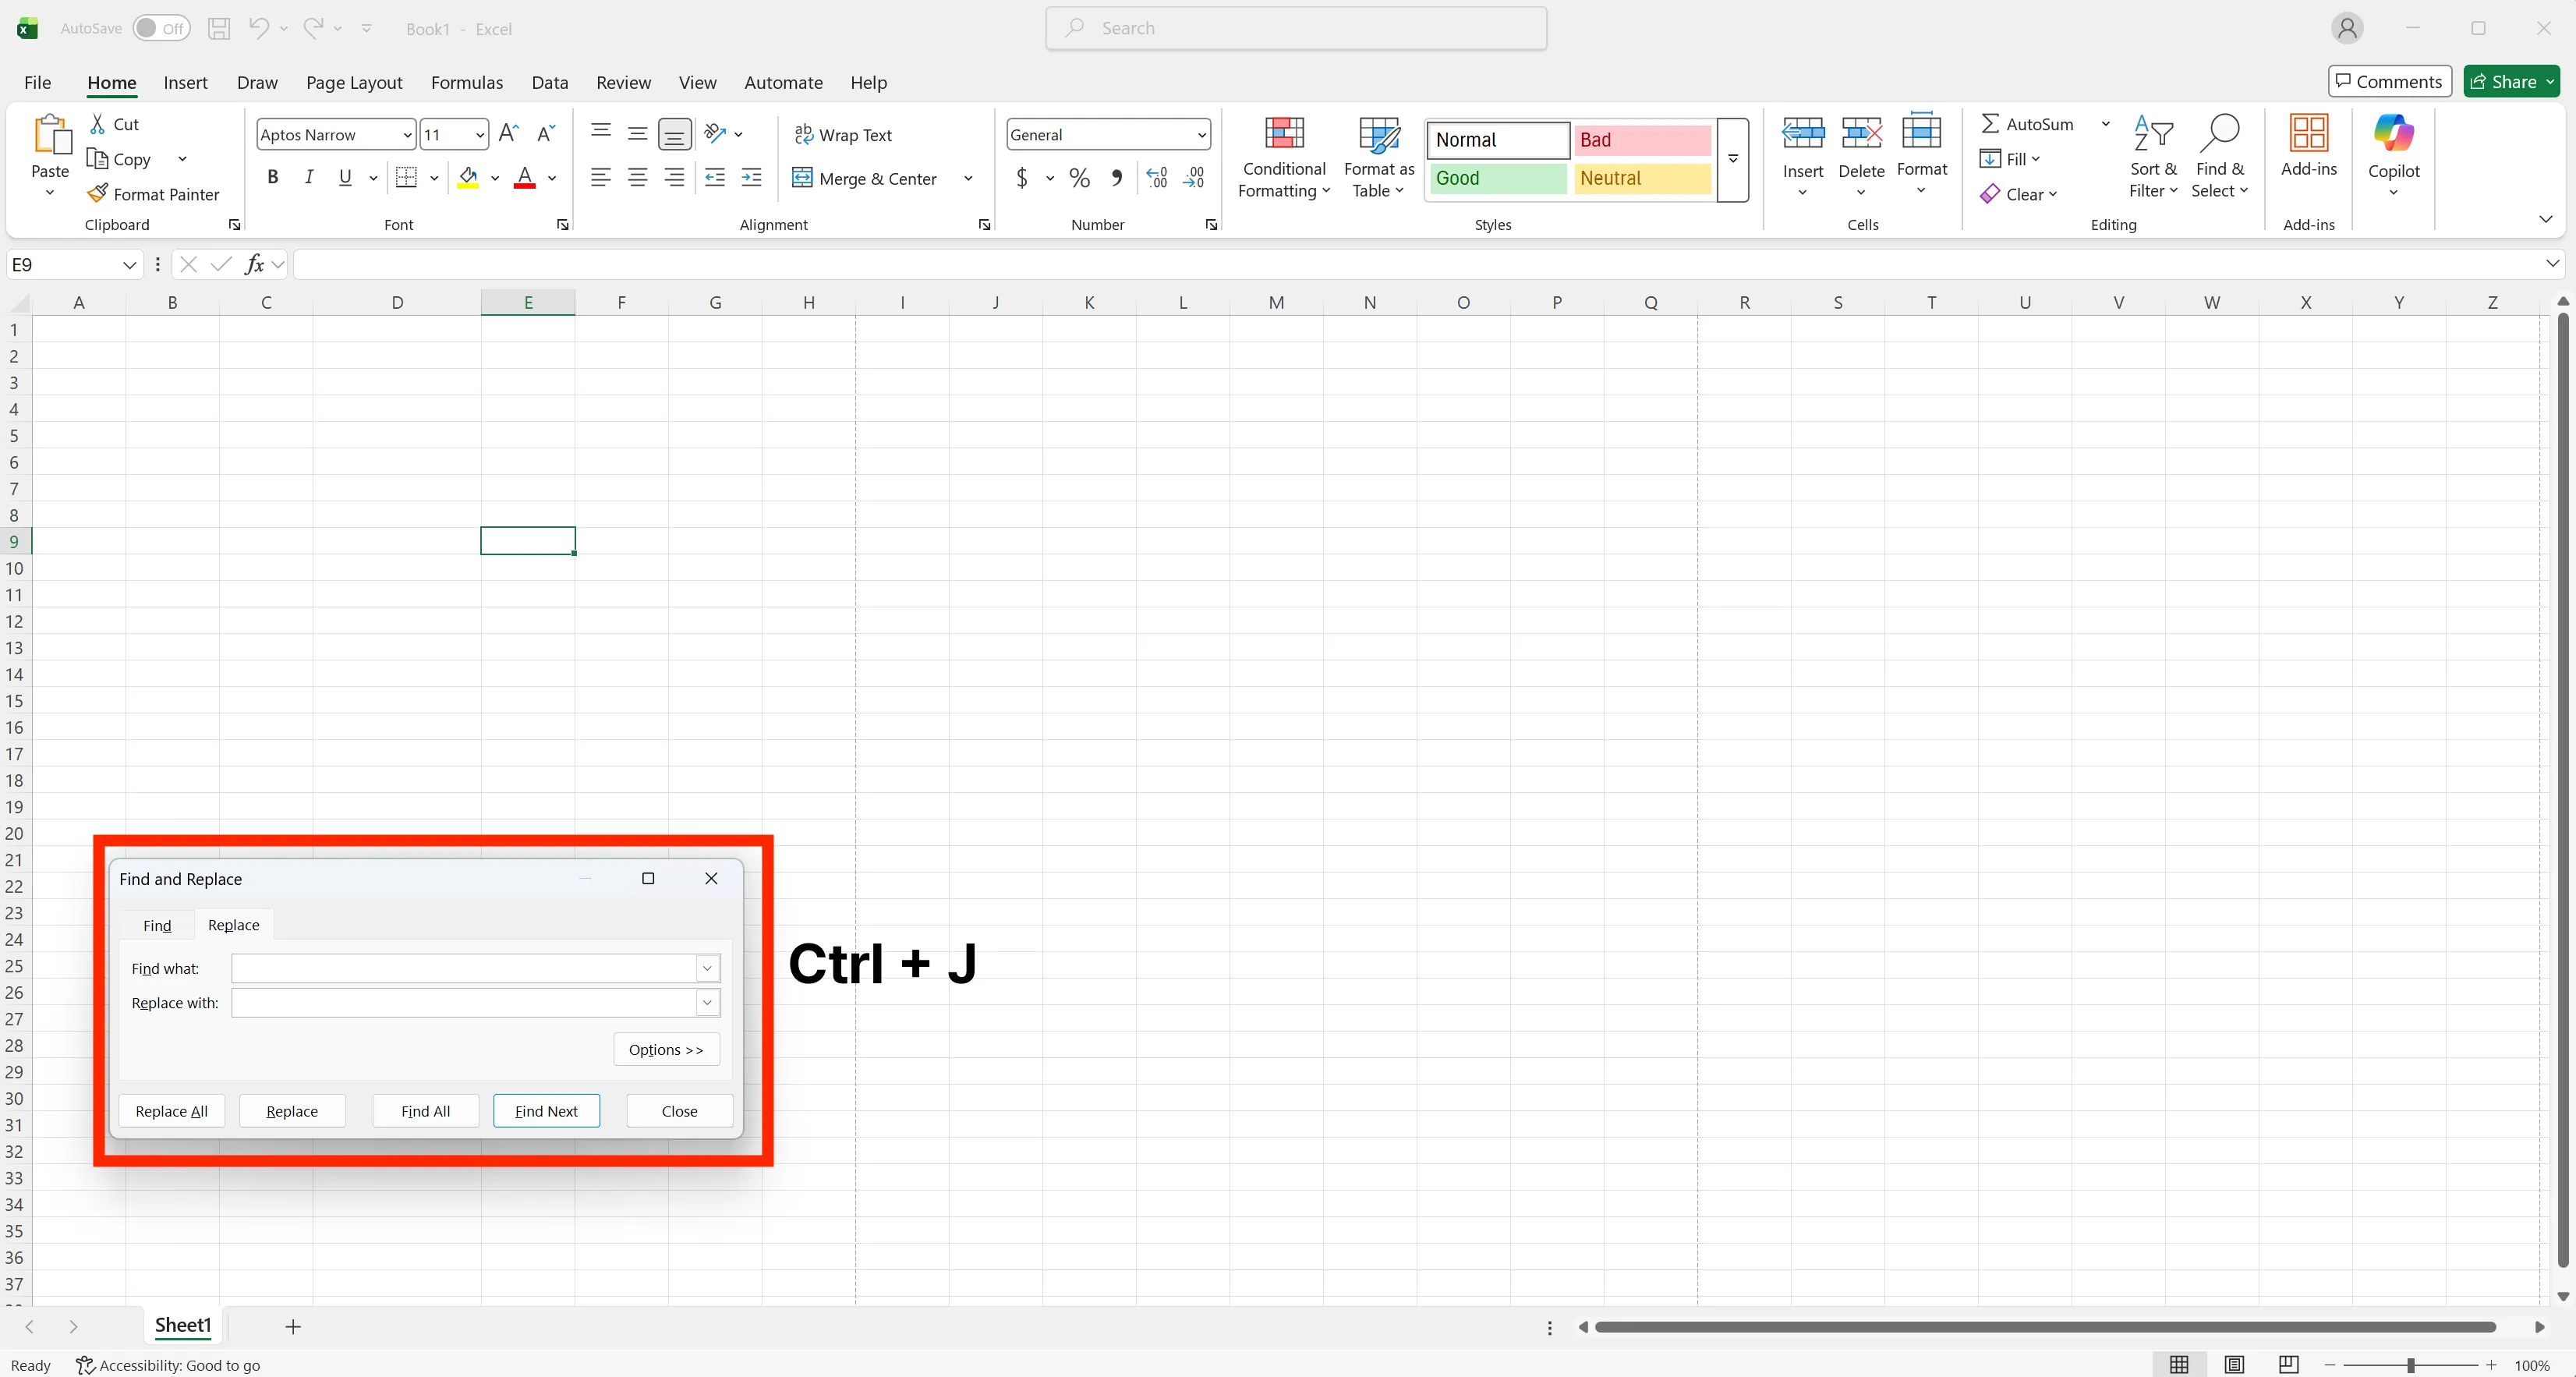
This method removes both manual and formula-based line breaks.
Excel Print Area Issues and How to Fix Them
Excel spreadsheets often look correct on screen but appear broken in Print Preview or the final printed output. Text may be cut off, pages may split unexpectedly, or extra blank pages may appear.
These problems are usually caused by incorrect Excel print area settings, row height issues, or page scaling-not by the data itself.
Below are the most common Excel print issues and practical ways to fix them.
Cell Content Cut Off When Printing
One of the most common Excel print issues is text being cut off in Print Preview or on paper.
This usually happens when Wrap Text is enabled but the row height is not large enough to display all wrapped lines. Even if the text looks fine on screen, Excel may clip it during printing.
How to fix it:
- Increase the row height manually by dragging the row border downward
- For faster results, double-click the row border to auto-fit the height based on the content
This adjustment prevents Excel text cut off when printing in most cases.
Print Area Expands Beyond Intended Range
Another frequent issue occurs when Excel prints more than expected.
Unused cells may still contain spaces, line breaks, or formatting, causing Excel to treat them as part of the print area. As a result, the output includes extra pages or blank areas.
How to fix it:
- Select only the cells you want to print
- Go to the Page Layout tab
- Click Print Area → Set Print Area
This ensures Excel prints only the selected range and prevents unnecessary pages.
Does Not Fit on One Page
When tables are too wide or long, Excel may split them across multiple pages.
This happens when the content exceeds the paper size and scaling is set to automatic.
How to fit Excel to one page:
- Open the Page Layout tab
- In the Page Setup group, find the scaling options
- Set Width to 1 page
- Optionally set Height to 1 page
This forces Excel to scale the sheet so it fits cleanly on a single page, which is especially useful for reports and print-ready documents.
Quick Check Before Printing
Before printing or exporting, always review the file in Print Preview.
Confirm that row heights still fit wrapped text, the print area is correctly defined, and scaling settings have not changed. These simple checks prevent most Excel print and layout issues.
Work More Efficiently in Excel with Cicely AI
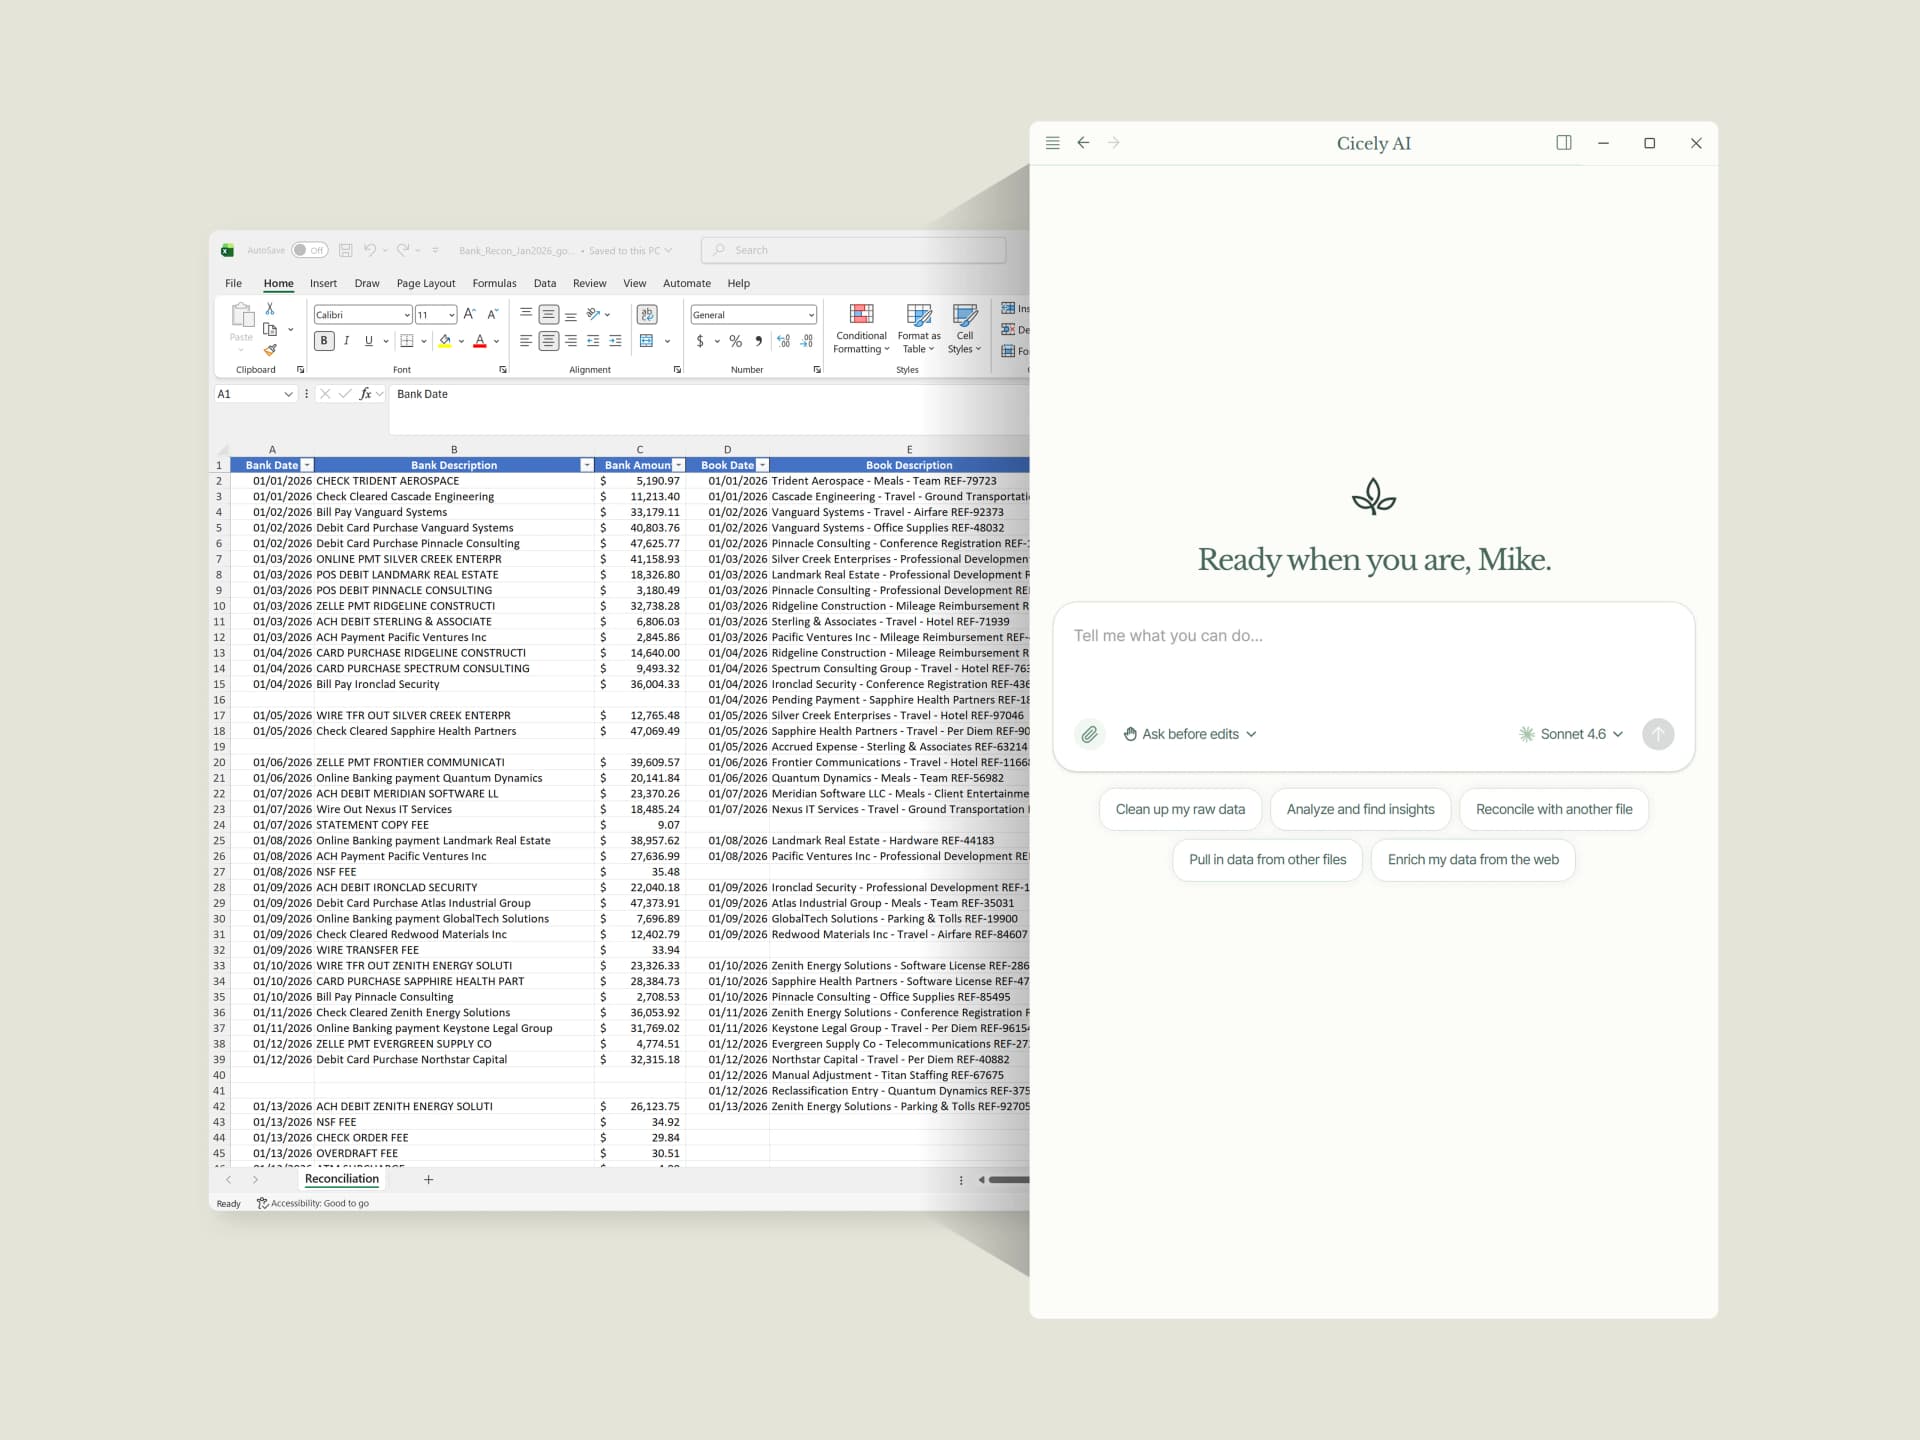
Cicely AI is a desktop-native AI coworker for Excel on Windows. It helps you clean up data, fix formulas, reorganize worksheets, and automate repetitive spreadsheet work with natural language while keeping files local on your PC.
Everything runs locally on your PC. No file uploads. No browser tools.